No Bake Peanut Butter Cup Pie Recipe
Introduction
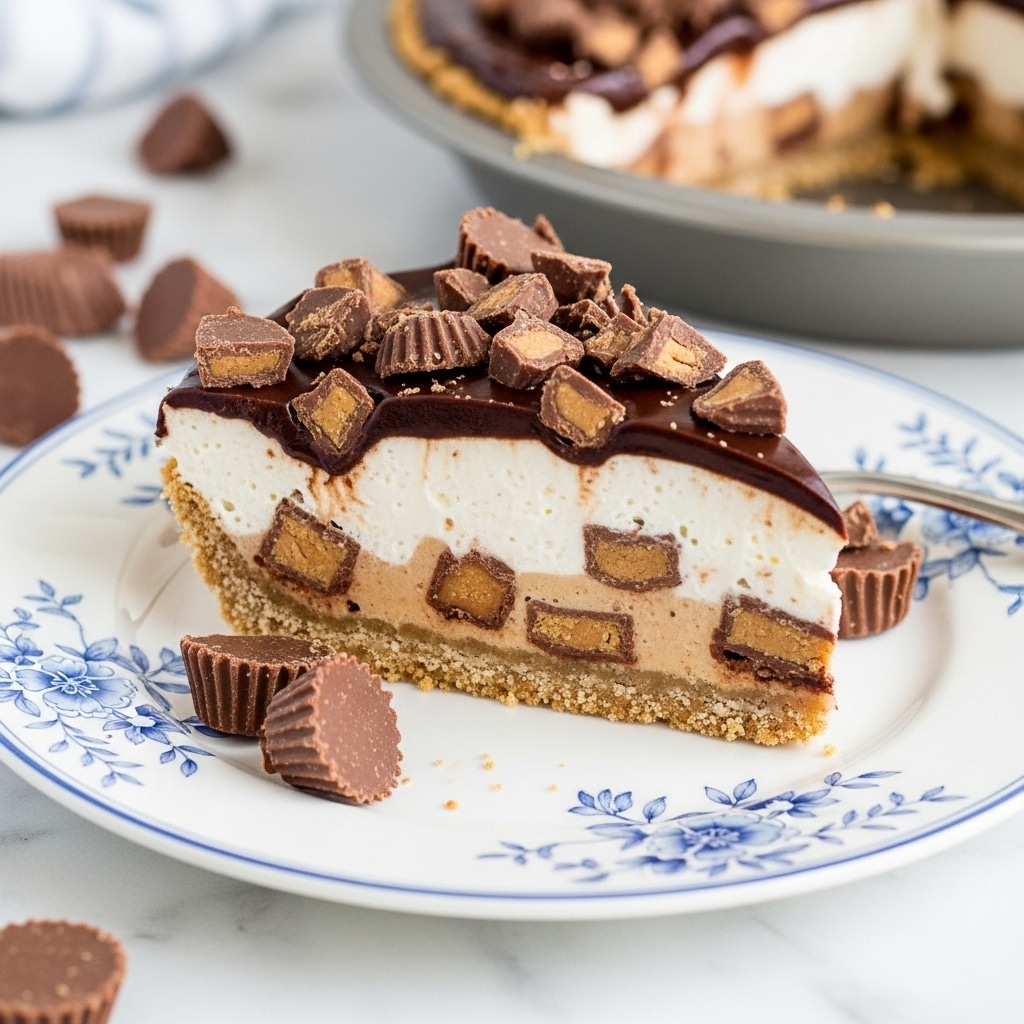
This No Bake Peanut Butter Cup Pie is a creamy, dreamy dessert that combines rich peanut butter flavor with the crunch of chopped peanut butter cups. Perfect for when you want an indulgent treat without turning on the oven.
Ingredients
- 1 Nutter Butter crust, Oreo crust, or graham cracker crust
- 8 ounces (226g) cream cheese, softened to room temperature
- ¼ cup (50g) granulated sugar
- ⅓ cup (89g) peanut butter (no stir peanut butter only; not natural)
- 1 teaspoon vanilla extract
- 1 (8-ounce) container whipped topping
- 2 cups peanut butter cups, chopped (divided)
- Hot fudge ice cream topping (optional)
Instructions
- Step 1: Beat the cream cheese until smooth using a hand mixer.
- Step 2: Mix in the granulated sugar and peanut butter, then add the vanilla extract. Beat until smooth and no lumps remain.
- Step 3: Fold in the whipped topping gently, then stir in 1½ cups of the chopped peanut butter cups.
- Step 4: Pour the filling into the prepared pie crust and spread evenly.
- Step 5: Sprinkle the remaining chopped peanut butter cups on top and drizzle with hot fudge ice cream topping if desired.
- Step 6: Chill the pie for at least 4 hours before cutting and serving.
Tips & Variations
- Use a refrigerated crust to save time and add extra texture to the pie.
- For a nut-free version, substitute peanut butter with sunflower seed butter and omit the peanut butter cups.
- Add a sprinkle of sea salt on top to balance the sweetness and enhance the peanut butter flavor.
Storage
Store the pie covered in the refrigerator for up to 3 days. You can also freeze it for up to one month; thaw in the refrigerator before serving. When reheating, it is best served chilled or at room temperature to maintain its creamy texture.
How to Serve

Serve this delicious recipe with your favorite sides.
FAQs
Can I use natural peanut butter for this recipe?
It’s best to use no stir peanut butter because natural peanut butter tends to be oilier and may affect the pie’s texture and consistency.
Do I have to use a specific type of crust?
No, you can use your favorite crust such as Nutter Butter, Oreo, or graham cracker crust. Each will add a slightly different flavor and texture to the pie.
PrintNo Bake Peanut Butter Cup Pie Recipe

A rich and creamy no-bake peanut butter cup pie featuring a smooth peanut butter and cream cheese filling, set in a crunchy cookie crust, and topped with chopped peanut butter cups and optional hot fudge drizzle. Perfectly chilled for a decadent treat without turning on the oven.
- Prep Time: 15 minutes
- Cook Time: 0 minutes
- Total Time: 4 hours 15 minutes
- Yield: 8 servings 1x
- Category: Dessert
- Method: No-Cook
- Cuisine: American
Ingredients
Crust
- 1 Nutter Butter Crust, Oreo Crust, or Graham Cracker Crust
Filling
- 8 ounces (226g) cream cheese, softened to room temperature
- ¼ cup (50g) granulated sugar
- ⅓ cup (89g) peanut butter (no stir peanut butter only; not natural)
- 1 teaspoon vanilla extract
- 1 (8-ounce) container whipped topping
- 2 cups peanut butter cups, chopped (divided)
Topping
- Hot fudge ice cream topping (optional)
Instructions
- Prepare the cream cheese mixture: Beat the softened cream cheese until smooth using a hand mixer. This creates a creamy base with no lumps.
- Add sugar and peanut butter: Mix in granulated sugar and peanut butter, then add vanilla extract. Continue beating until the mixture is smooth and fully combined.
- Fold in whipped topping and peanut butter cups: Gently fold the whipped topping into the peanut butter mixture for a light texture. Stir in 1½ cups of the chopped peanut butter cups evenly throughout the filling.
- Assemble the pie: Spoon the prepared filling into the pre-made crust, spreading it evenly.
- Add final toppings: Sprinkle the remaining ½ cup chopped peanut butter cups on top, then optionally drizzle with hot fudge ice cream topping for extra decadence.
- Chill: Refrigerate the pie for at least 4 hours to set before slicing and serving.
- Storage: Keep the pie refrigerated for up to 3 days, or freeze for up to one month for longer storage.
Notes
- Use no-stir peanut butter to ensure proper texture and consistency in the filling.
- Choose your preferred crust type such as Nutter Butter, Oreo, or Graham Cracker to customize flavor and texture.
- The pie must be chilled adequately to set properly since it is no-bake.
- Optional hot fudge topping adds richness but can be omitted.
- Freeze leftovers to maintain freshness if not consumed within a few days.
Keywords: no bake pie, peanut butter pie, peanut butter cup pie, easy dessert, no bake dessert, creamy peanut butter pie