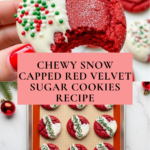
Snow Capped Red Velvet Sugar Cookies Recipe
Introduction
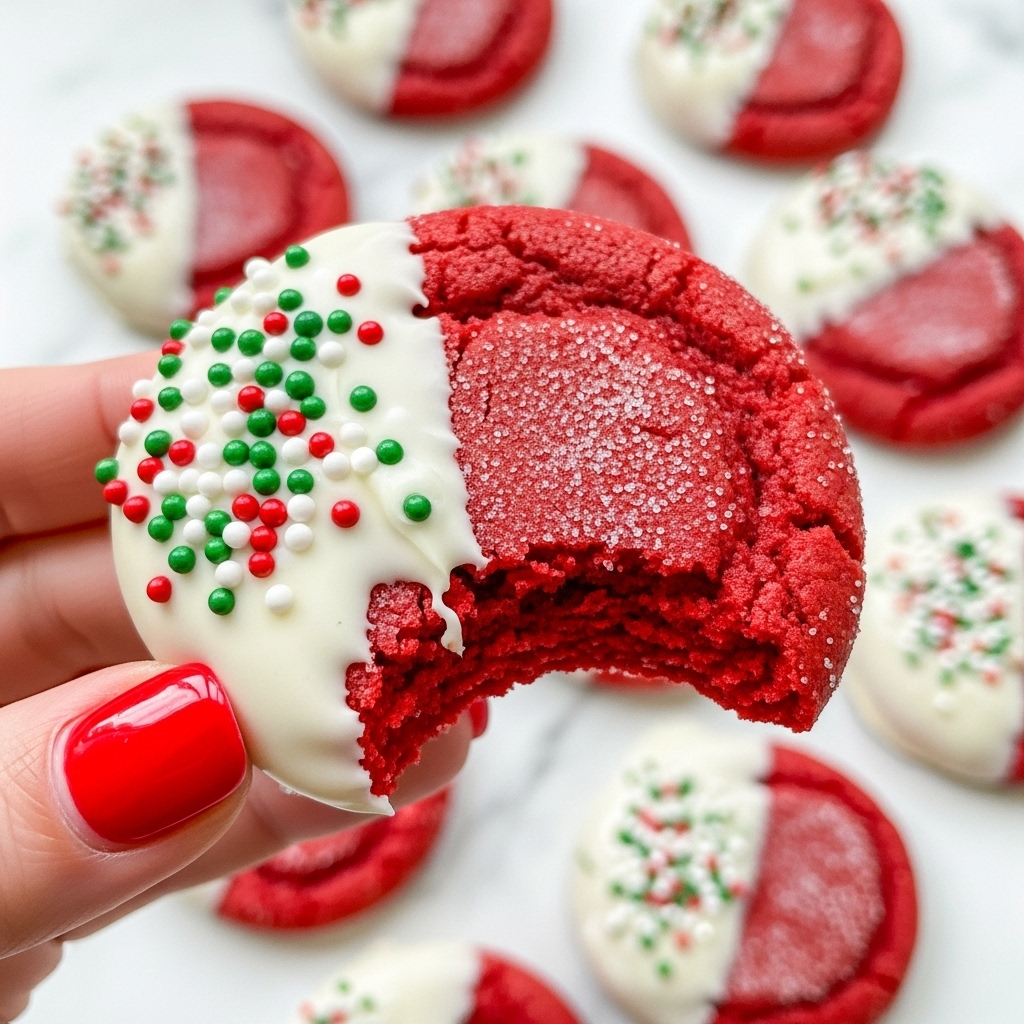
These Snow Capped Red Velvet Sugar Cookies combine the classic flavor of red velvet with a delightful sugar crunch and a creamy white chocolate dip. Perfect for holiday gatherings or anytime you crave a festive treat with a chewy center and a snowy finish.
Ingredients
- 1/2 cup (1 stick) unsalted butter, room temperature (113g)
- 2/3 cup granulated sugar (133g)
- 1/3 cup packed light brown sugar (66g)
- 1 large egg, room temperature (56g)
- 1 tsp vanilla extract (5g)
- 1 tsp red gel food coloring
- 2 cups + 2 Tbsp all-purpose flour (270g)
- 1 Tbsp unsweetened baking cocoa, sifted if lumpy (6g)
- 1 tsp baking soda (6g)
- 1/4 tsp fine salt (2g)
- 1/4 cup granulated sugar for rolling (optional) (50g)
- 1 cup white chocolate chips or chopped white chocolate, melted (175g)
- 1 Tbsp Christmas nonpareil sprinkles (optional)
Instructions
- Step 1: Preheat your oven to 350°F (175°C) and line two large cookie sheets with parchment paper or silicone mats. Set aside.
- Step 2: In a large bowl, cream together the butter, granulated sugar, and light brown sugar using an electric mixer on medium-high speed until the mixture lightens, about 2 minutes.
- Step 3: Add the egg, vanilla extract, and red gel food coloring. Mix on medium speed until just combined, scraping the bowl sides and bottom as needed.
- Step 4: On low speed, gradually add the flour, cocoa powder, baking soda, and salt until just combined. The dough will be thick.
- Step 5: Using a 1 1/2 Tbsp cookie scoop or large spoon, portion out about 21 balls of dough.
- Step 6: Roll each dough ball in granulated sugar if using, then arrange them about 2 inches apart on the prepared cookie sheets.
- Step 7: Bake for about 9 minutes, or until the cookies appear set in the center.
- Step 8: Optionally, while still warm, gently flatten each cookie with the bottom of a metal measuring cup or glass to create a chewy center.
- Step 9: Let the cookies cool on the baking sheet for 10 minutes, then transfer to a wire rack to cool completely.
- Step 10: Dip about one-third of each cookie into melted white chocolate, letting excess drip off. Scrape the bottom of the cookie on the bowl edge to avoid pooling.
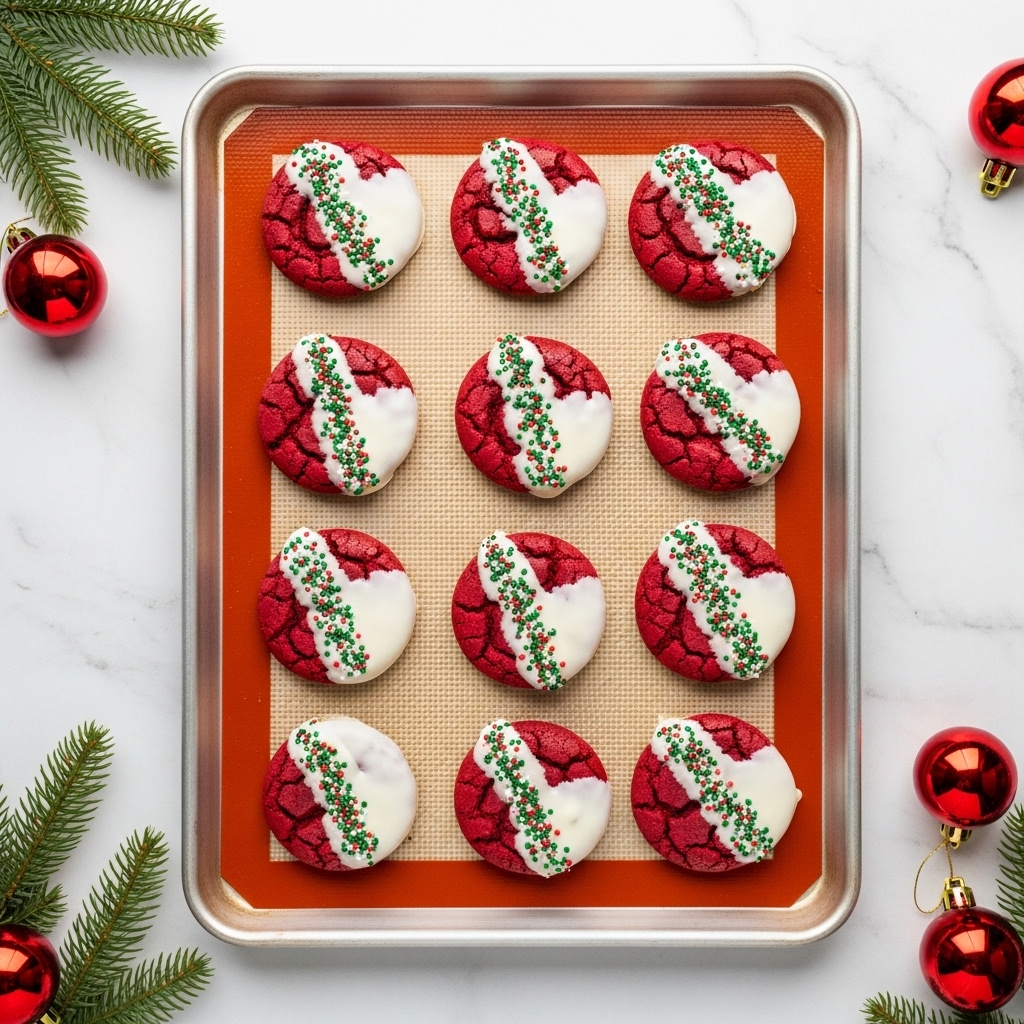
- Step 11: Place dipped cookies on parchment or silicone mats and allow the white chocolate to set at room temperature, about 30 minutes. Add sprinkles along the edges before the chocolate firms if desired.
Tips & Variations
- Use gel food coloring for a rich red hue without thinning the dough.
- For extra festive flair, add red or green sprinkles on the white chocolate before it sets.
- If you prefer, substitute white chocolate with dark or milk chocolate for a different flavor contrast.
- Chilling the dough for 30 minutes before baking can help prevent spreading.
Storage
Store the cookies in an airtight container at room temperature for up to 5 days. Keep them separate from other baked goods to preserve the white chocolate coating. For longer storage, freeze the cookies in a sealed container for up to 3 months; thaw at room temperature before serving. To refresh slightly, warm in the oven for a few minutes.
How to Serve
Serve this delicious recipe with your favorite sides.
FAQs
Can I omit the white chocolate dip?
Yes, the cookies taste delicious on their own without the white chocolate. The dip adds a festive touch and extra sweetness but is entirely optional.
Why is gel food coloring recommended?
Gel food coloring provides vibrant color without adding extra liquid that can affect the dough’s texture, helping maintain the perfect consistency for chewy cookies.
PrintSnow Capped Red Velvet Sugar Cookies Recipe

These Snow Capped Red Velvet Sugar Cookies combine the classic flavors of red velvet cake with the delightful texture of a sugar cookie. Rolled in sugar, baked to a chewy perfection, and dipped in creamy white chocolate snow caps, these festive cookies are perfect for holiday baking or any special occasion. The subtle cocoa undertone and the vibrant red color make them as visually appealing as they are delicious.
- Prep Time: 20 minutes
- Cook Time: 9 minutes
- Total Time: 59 minutes
- Yield: About 21 cookies 1x
- Category: Dessert
- Method: Baking
- Cuisine: American
- Diet: Vegetarian
Ingredients
Red Velvet Sugar Cookies
- 1/2 cup (1 stick) unsalted butter, room temperature (113g)
- 2/3 cup granulated sugar (133g)
- 1/3 cup packed light brown sugar (66g)
- 1 large egg, room temperature (56g)
- 1 tsp vanilla extract (5g)
- 1 tsp red gel food coloring (Americolor or Chef Master recommended)
- 2 cups + 2 Tbsp all-purpose flour (270g)
- 1 Tbsp unsweetened baking cocoa, sifted if lumpy (6g)
- 1 tsp baking soda (6g)
- 1/4 tsp fine salt (2g)
- 1/4 cup granulated sugar for rolling (optional) (50g)
White Chocolate Dip
- 1 cup good quality white chocolate chips or chopped white chocolate, melted (175g)
- 1 Tbsp Christmas nonpareil sprinkles (optional)
Instructions
- Preheat and prepare baking sheets: Preheat your oven to 350°F (175°C). Line two large cookie sheets with parchment paper or silicone baking mats and set them aside.
- Cream butter and sugars: In a large mixing bowl, beat together the unsalted butter, granulated sugar, and light brown sugar with an electric hand mixer or stand mixer fitted with a paddle attachment. Mix on medium-high speed until the mixture lightens in color, about 2 minutes.
- Add wet ingredients: Mix in the egg, vanilla extract, and red gel food coloring on medium speed until everything is combined. Scrape down the sides and bottom of the bowl as needed to ensure an even mix.
- Incorporate dry ingredients: On low speed, add the all-purpose flour, baking cocoa, baking soda, and salt to the wet mixture. Mix just until combined; the dough should be thick but well blended.
- Form cookie dough balls: Use a 1 1/2 tablespoon cookie scoop or large spoon to scoop about 21 dough balls. Optional: roll each ball in granulated sugar for added texture and sparkle.
- Arrange and bake: Place the cookies about 2 inches apart on the prepared baking sheets. Bake in the preheated oven for approximately 9 minutes, or until the centers appear set.
- Optional flattening for chewiness: While the cookies are still warm, gently press down on each with the bottom of a metal measuring cup or glass to create chewy centers. This step is optional but recommended for texture.
- Cool cookies: Let the cookies cool on the baking sheet for 10 minutes before transferring them to a wire rack to cool completely.
- Dip in white chocolate: Dip about one-third of each cookie into the melted white chocolate, allowing excess to drip off. Scrape the bottom edge on the bowl to prevent pooling chocolate.
- Decorate and set: Place the dipped cookies on parchment or silicone mats to allow the white chocolate to firm up, about 30 minutes at room temperature. Optionally, add Christmas nonpareil sprinkles along the edge of the white chocolate before it sets.
- Serve and enjoy: Once the white chocolate is fully set, the cookies are ready to serve. Enjoy your festive Snow Capped Red Velvet Sugar Cookies!
Notes
- For best results, use room temperature butter and egg to ensure even mixing and proper texture.
- The red gel food coloring produces a vibrant color without altering the dough’s consistency.
- Rolling the dough balls in sugar before baking adds a subtle crunch and sparkle.
- Gently flattening cookies while warm enhances chewiness in the centers.
- Use good quality white chocolate for a smooth, rich coating.
- Nonpareil sprinkles are optional but add a festive touch perfect for holidays.
- Cookies can be stored in an airtight container at room temperature for up to 1 week.
- Allow white chocolate to fully set before stacking or packaging the cookies.
Keywords: Red velvet cookies, sugar cookies, white chocolate dip, festive cookies, holiday desserts, chewy cookies, red velvet recipes