Microwave Mug Brownie – Gooey, Fast & Dorm-Safe Recipe
Introduction
This microwave mug brownie is a quick and easy dessert perfect for satisfying your chocolate cravings in minutes. It’s gooey, rich, and requires minimal ingredients and cleanup—ideal for dorm rooms or busy days. No oven or eggs needed, making it beginner-friendly and fuss-free.
Ingredients
- 1/4 cup (30g) all-purpose flour
- 1/4 cup (50g) granulated sugar
- 2 tablespoons (10g) unsweetened cocoa powder
- A pinch of salt
- 2 tablespoons (30ml) vegetable oil (or melted butter)
- 3 tablespoons (45ml) water
- 1/4 teaspoon vanilla extract (optional)
- 1 tablespoon chocolate chips or chopped chocolate (optional)
Instructions
- Step 1: In a microwave-safe mug (about 10–12 oz), mix the flour, sugar, cocoa powder, and salt thoroughly using a fork or small whisk.
- Step 2: Add the vegetable oil, water, and vanilla extract if using. Stir until the batter is smooth and free of lumps.
- Step 3: Fold in chocolate chips or chopped chocolate for an extra gooey center, if desired.
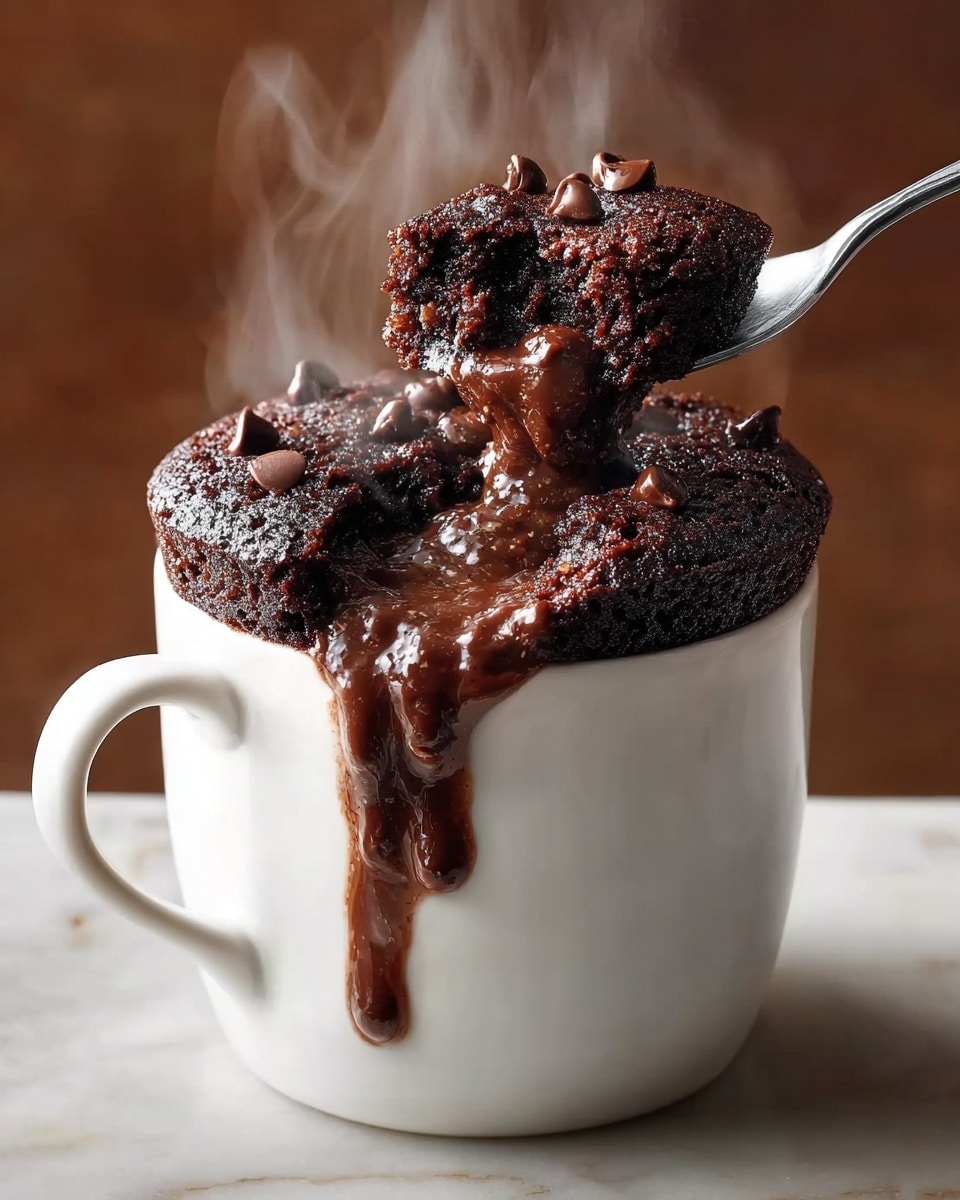
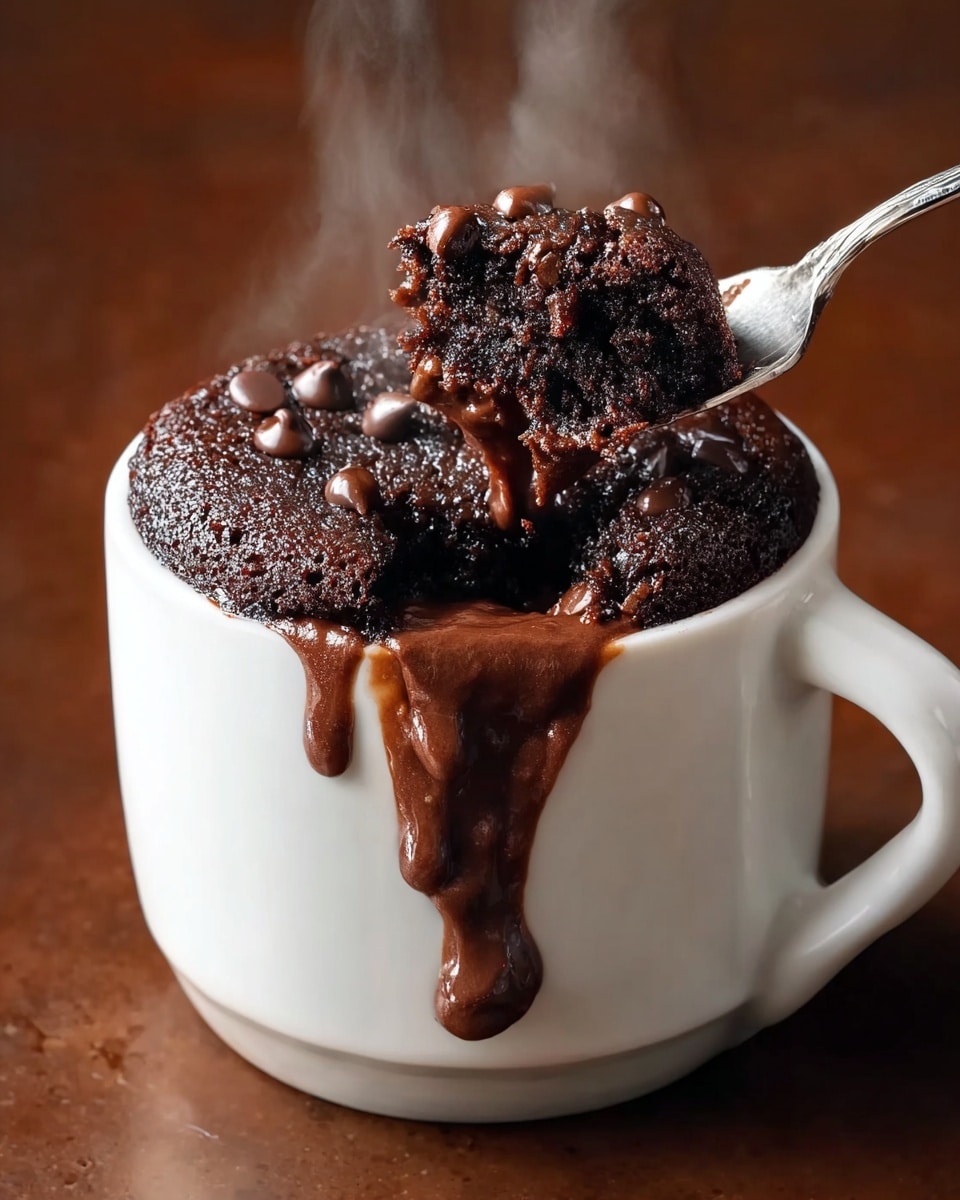
- Step 4: Microwave on high for 60 to 90 seconds. The surface should be set but the center slightly gooey—avoid overcooking.
- Step 5: Let the brownie cool for 1–2 minutes before eating. Enjoy it plain or topped with whipped cream, ice cream, or chocolate syrup.
Tips & Variations
- Use melted butter instead of oil for a richer flavor.
- Add a pinch of cinnamon or espresso powder to deepen the chocolate taste.
- Try mixing in a spoonful of peanut butter or caramel for a different twist.
- Adjust microwave time based on your appliance to avoid dryness.
Storage
This mug brownie is best enjoyed fresh but can be stored covered in the fridge for up to 2 days. Reheat briefly in the microwave to soften before eating, but avoid overheating to keep the gooey texture intact.
How to Serve
Serve this delicious recipe with your favorite sides.
FAQs
Can I use a different type of flour?
All-purpose flour works best for texture, but you can try whole wheat flour with slightly denser results. Gluten-free blends may also work but might alter the texture.
What if I don’t have vanilla extract?
Vanilla extract is optional and mainly adds flavor depth, so it’s fine to omit it if you don’t have any on hand.
PrintMicrowave Mug Brownie – Gooey, Fast & Dorm-Safe Recipe
This Microwave Mug Brownie is a quick, gooey, and dorm-friendly dessert that can be made in just minutes using a microwave. Perfect for beginners and those with limited kitchen space, it delivers rich chocolate flavor with a soft, chewy texture, without any eggs or dairy. Ideal for a fast chocolate fix, this recipe requires minimal cleanup and simple ingredients.
- Prep Time: 5 minutes
- Cook Time: 1-1.5 minutes
- Total Time: 6-7 minutes
- Yield: 1 serving 1x
- Category: Dessert
- Method: Microwaving
- Cuisine: American
- Diet: Vegetarian
Ingredients
Dry Ingredients
- 1/4 cup (30g) all-purpose flour
- 1/4 cup (50g) granulated sugar
- 2 tablespoons (10g) unsweetened cocoa powder
- A pinch of salt
Wet Ingredients
- 2 tablespoons (30ml) vegetable oil (or melted butter)
- 3 tablespoons (45ml) water
- 1/4 teaspoon vanilla extract (optional)
Add-ins
- 1 tablespoon chocolate chips or chopped chocolate (optional)
Instructions
- Mix Dry Ingredients: In a microwave-safe mug (about 10–12 oz), combine the flour, sugar, cocoa powder, and salt. Stir thoroughly with a fork or small whisk until well mixed.
- Add Wet Ingredients: Pour in the vegetable oil, water, and vanilla extract if using. Stir the mixture until you have a smooth, lump-free batter.
- Mix in Chocolate Chips: Fold in the chocolate chips or chopped chocolate, if desired, to add an extra gooey texture.
- Microwave Cooking: Place the mug in the microwave and cook on high for 60 to 90 seconds. The surface should look set but the center will still be slightly gooey. Avoid overcooking to keep the brownie moist.
- Cool and Serve: Let the brownie cool in the mug for 1 to 2 minutes before eating. Enjoy as is or top with whipped cream, ice cream, or chocolate syrup for an extra treat.
Notes
- Microwave wattages vary, so adjust cooking time as needed—start with 60 seconds and add time in 10-second increments.
- Do not overcook; the brownie will continue to cook slightly after microwaving.
- Using vegetable oil keeps the recipe dairy-free, but melted butter can be substituted for a richer flavor.
- Adding vanilla extract enhances flavor but is optional.
- The recipe is egg-free, making it suitable for dorms where eggs may not be allowed or available.
- Cleanup is easy since this is made and served in a single mug.
Keywords: microwave brownie, mug brownie, quick dessert, dorm-friendly recipe, easy brownie, chocolate mug cake, no-bake brownie