Strawberry Cheesecake Dump Cake Recipe
Introduction
This Strawberry Cheesecake Dump Cake is an effortlessly delicious dessert that combines the sweetness of strawberry cake mix with creamy cheesecake flavors. With minimal prep and simple ingredients, it’s perfect for busy days or last-minute gatherings.
Ingredients
- 1 box strawberry cake mix
- 1 (21 oz) can strawberry pie filling
- 8 oz cream cheese, softened
- 1/2 cup powdered sugar
- 1/2 cup butter, melted
Instructions
- Step 1: Preheat your oven to 350°F (175°C).
- Step 2: Spread the strawberry pie filling evenly in the bottom of a 9×13 inch baking dish.
- Step 3: In a mixing bowl, beat the softened cream cheese and powdered sugar together until smooth and creamy.
- Step 4: Drop spoonfuls of the cream cheese mixture over the strawberry pie filling, distributing it as evenly as possible.
- Step 5: Sprinkle the dry strawberry cake mix over the cream cheese layer.
- Step 6: Drizzle the melted butter evenly over the top of the cake mix.
- Step 7: Bake for 35-40 minutes, or until the cake is bubbly and golden brown on top.
- Step 8: Allow to cool slightly, then serve warm or chilled according to your preference.
Tips & Variations
- For extra texture, add chopped nuts like pecans or walnuts on top before baking.
- Try substituting the strawberry pie filling with other fruit fillings, such as cherry or blueberry, for different flavors.
- Make sure the cream cheese is fully softened to avoid lumps in the cheesecake layer.
Storage
Store any leftover cake covered in the refrigerator for up to 3 days. Reheat in the microwave for about 20-30 seconds if you prefer it warm, or enjoy it chilled straight from the fridge.
How to Serve
Serve this delicious recipe with your favorite sides.
FAQs
Can I use fresh strawberries instead of pie filling?
Fresh strawberries can be used, but since they lack the thick syrup of pie filling, you may want to toss them with a little sugar and cook down slightly or add a thickener like cornstarch to avoid excess moisture.
Is it necessary to soften the cream cheese before mixing?
Yes, softening the cream cheese is important to achieve a smooth, creamy layer without lumps. You can leave it at room temperature for about 30 minutes or soften briefly in the microwave.
PrintStrawberry Cheesecake Dump Cake Recipe

This Strawberry Cheesecake Dump Cake is an easy, no-fuss dessert combining the fruity sweetness of strawberry pie filling with creamy cheesecake flavors and a moist cake topping. Ideal for quick baking, it features layers of strawberry filling, rich cream cheese, and a buttery cake mix baked until golden and bubbly.
- Prep Time: 10 minutes
- Cook Time: 40 minutes
- Total Time: 50 minutes
- Yield: 12 servings 1x
- Category: Dessert
- Method: Baking
- Cuisine: American
Ingredients
Filling
- 1 (21 oz) can strawberry pie filling
Cheesecake Layer
- 8 oz cream cheese, softened
- 1/2 cup powdered sugar
Cake Topping
- 1 box strawberry cake mix (approximately 15.25 oz)
- 1/2 cup butter, melted
Instructions
- Preheat Oven: Preheat your oven to 350°F (175°C) to ensure it’s at the right temperature for baking the dump cake evenly.
- Prepare Filling: Spread the entire can of strawberry pie filling evenly in the bottom of a 9×13 inch baking dish. This forms the juicy base of your dessert.
- Make Cheesecake Layer: In a mixing bowl, beat the softened cream cheese and powdered sugar together until the mixture is smooth and creamy. This layer adds a rich, tangy contrast to the sweet strawberries.
- Assemble Layers: Drop spoonfuls of the cream cheese mixture evenly over the strawberry pie filling. Next, sprinkle the dry strawberry cake mix evenly over the cream cheese dollops.
- Add Butter: Drizzle the melted butter evenly over the top of the cake mix. This helps create a moist, golden crust as it bakes.
- Bake: Place the baking dish in the oven and bake for 35-40 minutes, or until the top is bubbly and golden brown. This ensures the cake is cooked through and full of flavor.
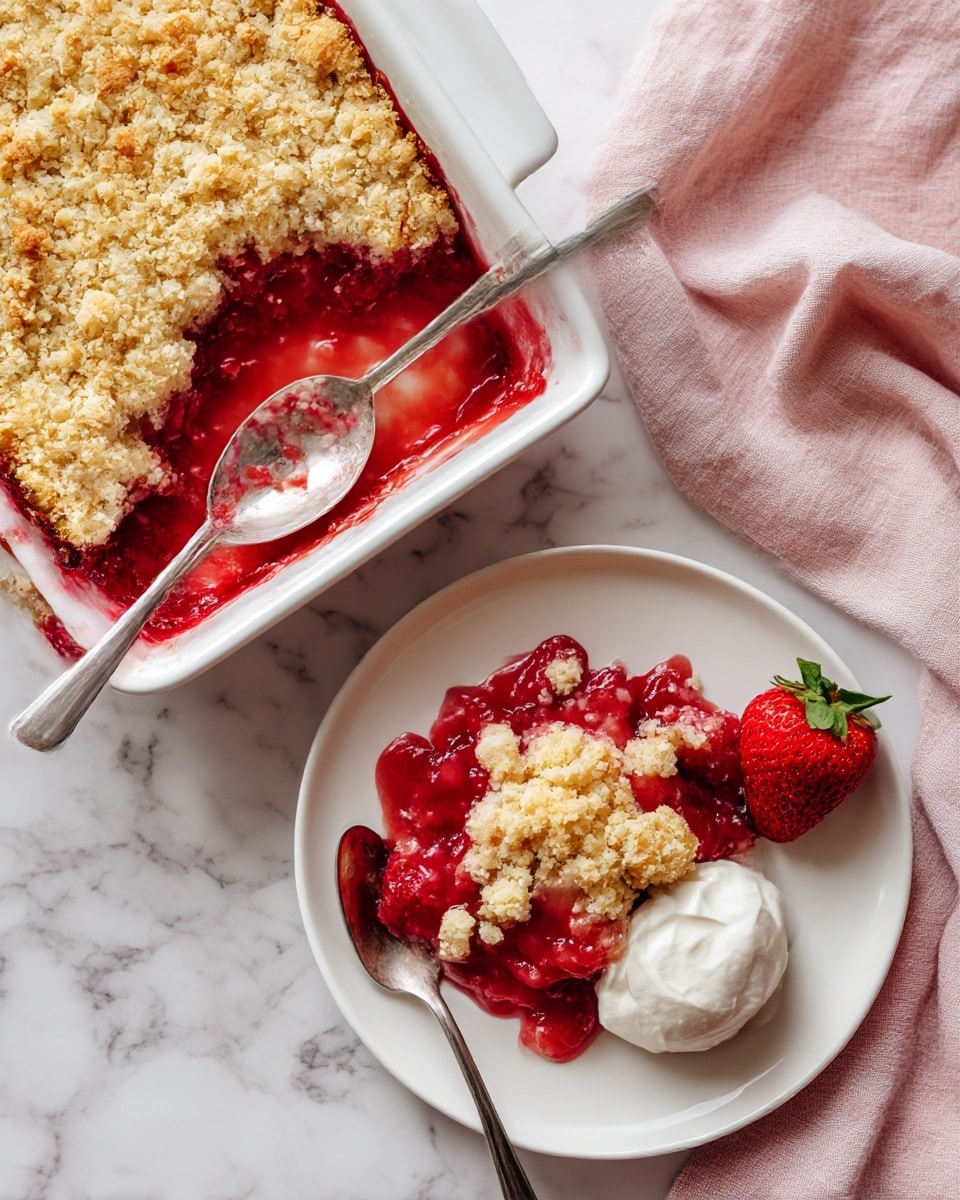
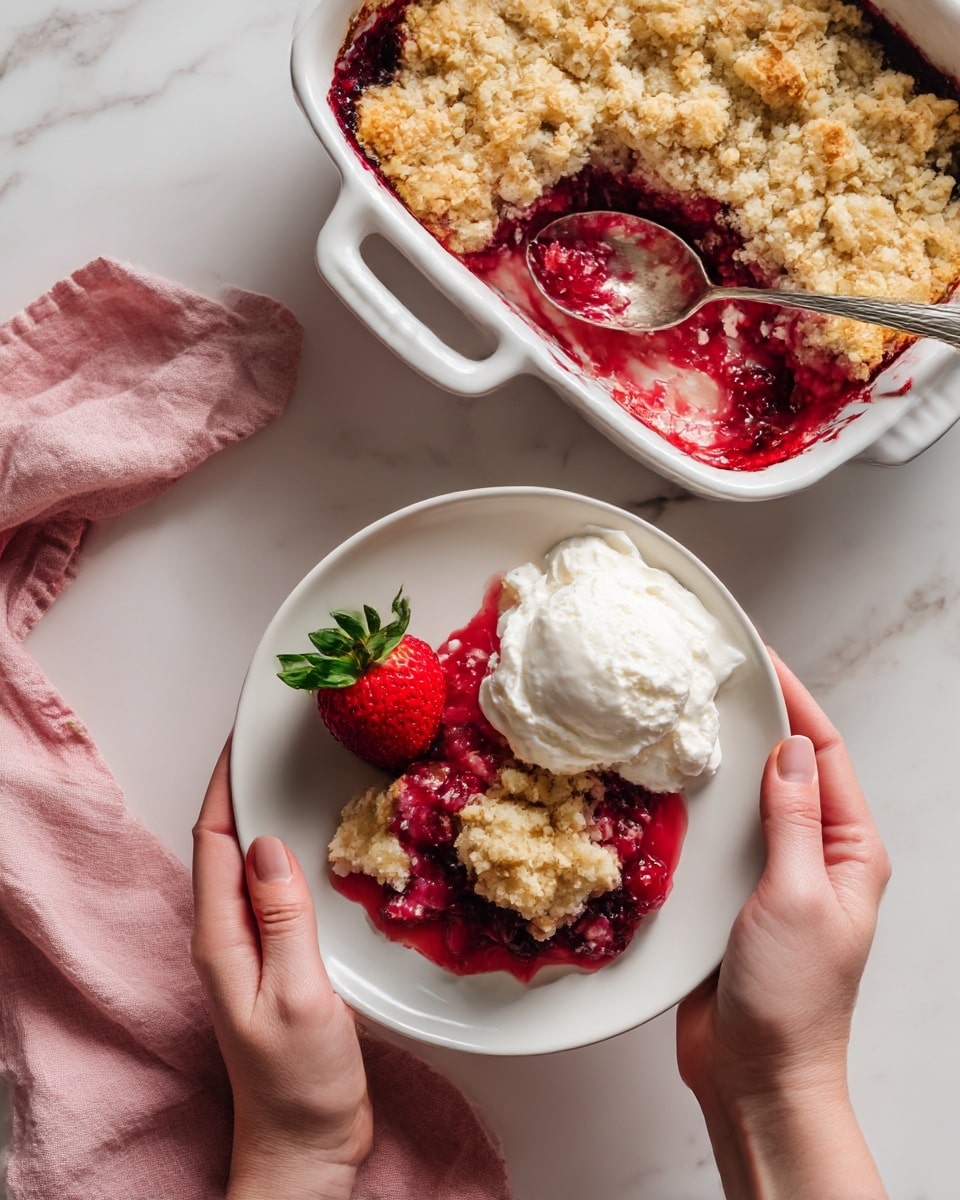
- Serve: Allow to cool slightly, then serve warm or chilled according to your preference for a delicious dessert.
Notes
- Use full-fat cream cheese for the best flavor and texture.
- You can swap strawberry cake mix with yellow or white cake mix for a different flavor.
- Serving the cake warm enhances the creamy texture, while chilling it allows the layers to set further.
- Store leftovers covered in the refrigerator for up to 3 days.
- For added texture, sprinkle chopped nuts or shredded coconut over the top before baking.
Keywords: Strawberry cheesecake dump cake, easy strawberry dessert, no-mix cake, quick cheesecake cake, strawberry dump cake