Authentic Hot Dog Chili Sauce: 7 Flavorful Tips! Recipe
Introduction
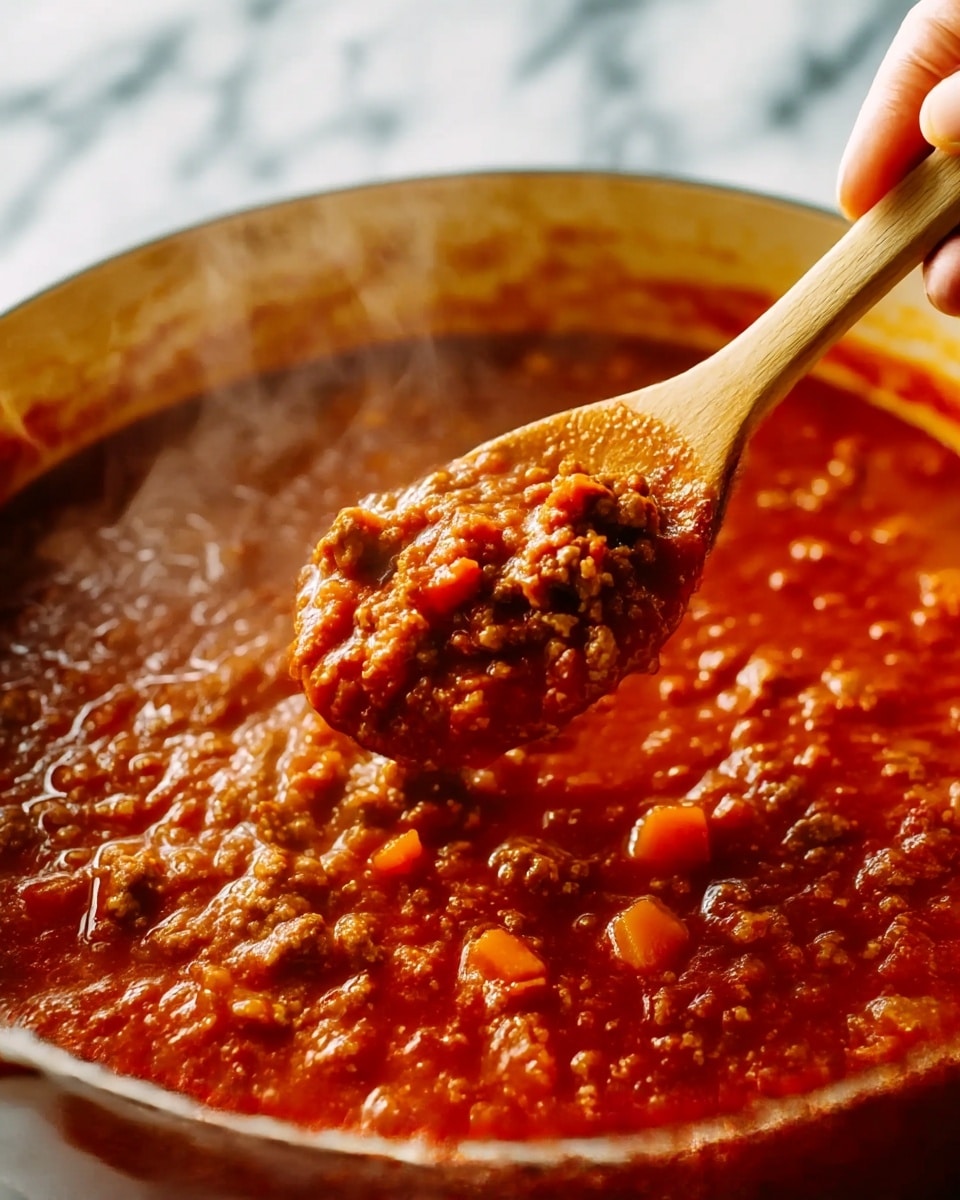
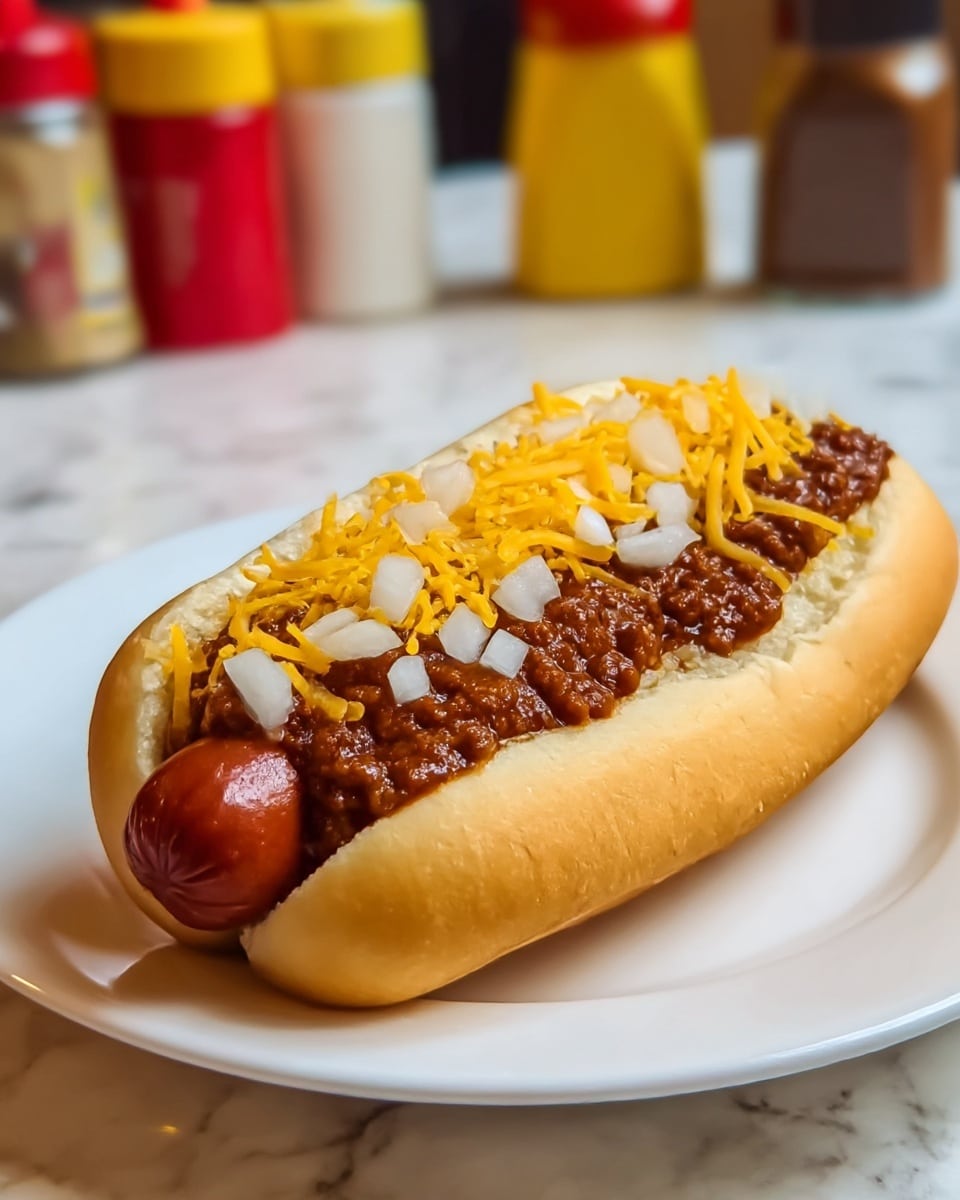
This authentic hot dog chili sauce is packed with deep, savory flavors and just the right balance of sweetness and tang. Made with finely crumbled lean beef and a blend of classic spices, it’s the perfect topping to elevate your favorite hot dogs. The slow simmer creates a rich sauce that’s both comforting and delicious.
Ingredients
- 1 lb lean ground beef
- 1 tsp chili powder
- 1 tsp paprika
- 1 tsp cumin
- 1 tsp kosher salt
- 1 tsp black pepper
- 1 Tbsp dried minced onion
- 1 Tbsp garlic powder
- Pinch of red pepper flakes (optional, to taste)
- 2–3 cups water
- 5 oz tomato sauce (small can)
- 1 cup ketchup
- 1/4 cup brown sugar
- 1/4 cup Worcestershire sauce
Instructions
- Step 1: In a large pot or deep skillet, add the ground beef and enough water to cover it (about 2 cups). Bring to a simmer over medium heat. Continuously break the meat into tiny pieces with a wooden spoon or potato masher as it cooks. Skim off any foam or scum that forms. Do not drain the liquid.
- Step 2: Once the beef is fully browned and crumbled, stir in chili powder, paprika, cumin, kosher salt, black pepper, dried minced onion, garlic powder, red pepper flakes, and tomato sauce. Bring back to a gentle boil.
- Step 3: Reduce heat to low, cover, and let the sauce simmer for 1 to 2 hours, stirring occasionally. Add more water if it becomes too dry or starts sticking. The sauce should reduce and thicken but stay saucy.
- Step 4: Stir in ketchup, brown sugar, and Worcestershire sauce. Simmer uncovered for another 30–45 minutes, stirring occasionally, until the sauce thickens and flavors concentrate.
- Step 5: Turn off the heat and taste. Adjust salt, pepper, heat, or tang with additional chili powder, hot sauce, or mustard if desired. Serve warm over hot dogs.
Tips & Variations
- For a smoother sauce, mash the beef further during simmering to remove any larger chunks.
- Add a teaspoon of mustard or a splash of vinegar if you prefer a tangier flavor.
- Use lean ground turkey or chicken as a lighter alternative to beef.
- Adjust sweetness by adding more brown sugar or ketchup to taste.
- If the sauce gets too thick, thin with a little water during the final simmer.
- For more heat, increase the red pepper flakes or add a dash of hot sauce when finishing.
- Simmering low and slow is key to developing deep, melded flavors.
Storage
Store leftover chili sauce in an airtight container in the refrigerator for up to 4 days. Reheat gently on the stove or in the microwave, adding a splash of water if needed to loosen the sauce. This chili sauce can also be frozen for up to 3 months; thaw overnight in the fridge before reheating.
How to Serve
Serve this delicious recipe with your favorite sides.
FAQs
Can I make this chili sauce ahead of time?
Yes, this sauce tastes even better the next day after the flavors have had time to meld. Prepare it in advance and store it refrigerated or frozen until ready to use.
Is it necessary to cook the beef in water?
Cooking the beef in water helps break it down into fine crumbles without grease, creating the smooth texture desired in chili dog sauce. It also prevents excess fat, ensuring a clean, balanced flavor.
PrintAuthentic Hot Dog Chili Sauce: 7 Flavorful Tips! Recipe
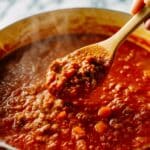
This Authentic Hot Dog Chili Sauce recipe delivers a perfectly balanced sweet-savory-tangy flavor with finely crumbled lean ground beef simmered slowly with classic chili spices and tomato elements. Ideal for topping hot dogs, this sauce is thick yet spoonable, with deep umami notes from Worcestershire and a hint of heat from red pepper flakes. The slow simmering technique melds the flavors beautifully for a traditional chili dog experience at home.
- Prep Time: 10 minutes
- Cook Time: 2 hours 45 minutes
- Total Time: 2 hours 55 minutes
- Yield: About 3 cups of chili sauce, enough for 8–10 hot dogs 1x
- Category: Sauce
- Method: Stovetop
- Cuisine: American
Ingredients
Meat and Liquids
- 1 lb lean ground beef
- 2–3 cups water (to cover beef for simmering)
- 5 oz tomato sauce (small can)
Spices and Seasonings
- 1 tsp chili powder
- 1 tsp paprika
- 1 tsp cumin
- 1 tsp kosher salt
- 1 tsp black pepper
- 1 Tbsp dried minced onion
- 1 Tbsp garlic powder
- Pinch red pepper flakes (optional, to taste)
Sweet and Tangy Finish
- 1 cup ketchup
- 1/4 cup brown sugar
- 1/4 cup Worcestershire sauce
Instructions
- Brown the Beef (in Water): In a large pot or deep skillet, add the ground beef and enough water to cover it (about 2 cups). Bring to a simmer over medium heat. Continuously break the meat into tiny pieces using a wooden spoon or potato masher as it cooks. Skim off any foam or scum that appears. Do not drain the liquid; keep all flavor in the pot.
- Add Spices and Tomato Sauce: Once beef is fully browned and finely crumbled, stir in the chili powder, paprika, cumin, kosher salt, black pepper, dried minced onion, garlic powder, and red pepper flakes. Then add the tomato sauce. Stir well and bring mixture back to a gentle boil to bloom the spices.
- Simmer Low and Slow: Reduce heat to low to maintain a gentle simmer. Cover the pot and simmer for 1 to 2 hours, stirring occasionally. Add water if the sauce becomes too dry or starts sticking. The goal is to have the beef very tender and the sauce thickened but still saucy.
- Add Ketchup, Brown Sugar, and Worcestershire: Stir in the ketchup, brown sugar, and Worcestershire sauce. Mix thoroughly and continue simmering uncovered for 30 to 45 minutes to thicken the sauce and concentrate the flavors. Stir occasionally and adjust heat to prevent sticking.
- Adjust Consistency and Seasoning: Check the sauce thickness; it should be thick but spoonable. If too thick, add a splash of water; if too thin, simmer longer. Mash any larger beef chunks for a smooth texture. Taste and adjust salt, pepper, chili powder, or add mustard or hot sauce if desired.
- Serve: Once seasoned to your liking and thickened properly, turn off the heat. Spoon generously over hot dogs and enjoy the authentic chili dog experience.
Notes
- Cooking the beef in water rather than frying keeps the meat finely crumbled and lean without grease.
- Simmering the sauce low and slow enhances depth of flavor and tenderizes the beef perfectly.
- Adjust sweetness or tang by adding more brown sugar, ketchup, mustard, or vinegar to taste.
- Keep stirring occasionally during simmering to prevent sticking and promote even cooking.
- Use lean ground beef for best texture and to avoid greasy sauce.
- This sauce freezes well; store in airtight containers for up to 3 months.
- If thicker chili sauce is desired, extend the uncovered simmer time to reduce liquid further.
Keywords: hot dog chili sauce, authentic chili dog sauce, homemade chili sauce, chili dog topping, slow simmer chili, lean ground beef chili sauce