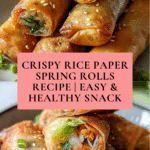
Crispy Rice Paper Spring Rolls Recipe
Introduction
Crispy rice paper spring rolls are a delightful appetizer or snack, combining fresh vegetables with a satisfyingly crunchy exterior. These rolls are quick to prepare and perfect for dipping in soy sauce and a splash of fresh lime juice.
Ingredients
- Rice noodles
- Carrots, julienned
- Cucumber, julienned
- Bell peppers, thinly sliced
- Fresh herbs (mint or cilantro)
- Lettuce leaves
- Soy sauce (for dipping)
- Fresh lime juice
- Oil for frying
Instructions
- Step 1: Prepare all vegetables and herbs by cutting them into thin strips to make rolling easier.
- Step 2: Soak each rice paper in warm water for 10-15 seconds until it becomes soft and pliable.
- Step 3: Lay the softened rice paper flat and place about two tablespoons of the vegetable filling near one edge. Fold in the sides and roll tightly to seal.
- Step 4: Heat oil in a skillet over medium heat. Fry the spring rolls seam side down until golden brown and crispy on all sides, about 2-3 minutes per side.
- Step 5: Serve the spring rolls hot with soy sauce and a squeeze of fresh lime juice for dipping.
Tips & Variations
- For extra crunch, add chopped peanuts or toasted sesame seeds inside the filling.
- Substitute fresh herbs with basil or Thai basil for a different flavor profile.
- Use gluten-free soy sauce to keep the recipe gluten-free.
- Try baking the rolls at 400°F (200°C) for 15-20 minutes as a lighter alternative to frying.
Storage
Store any leftover spring rolls in an airtight container in the refrigerator and consume within 1-2 days for best texture. Reheat in a hot skillet or oven to maintain crispiness rather than microwaving, which can make them soggy.
How to Serve
Serve this delicious recipe with your favorite sides.
FAQs
Can I prepare the filling in advance?
Yes, you can julienne the vegetables and prepare the herbs a few hours ahead. Keep everything refrigerated in separate containers to maintain freshness.
What if my rice paper tears while soaking?
Make sure the water is warm, not hot, and soak the rice paper briefly—just until pliable. Over-soaking can cause tearing. Handle the softened sheets gently when rolling.
PrintCrispy Rice Paper Spring Rolls Recipe

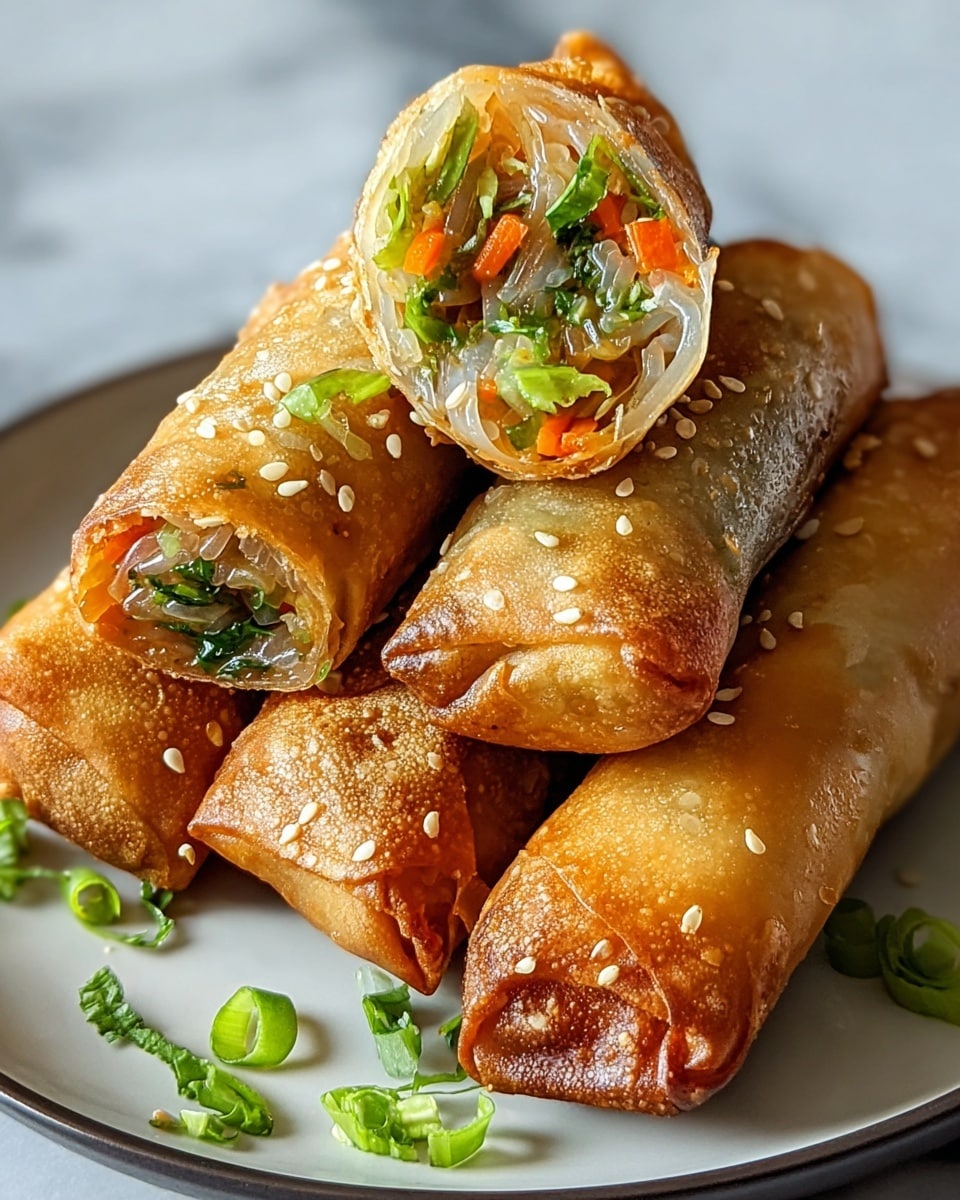
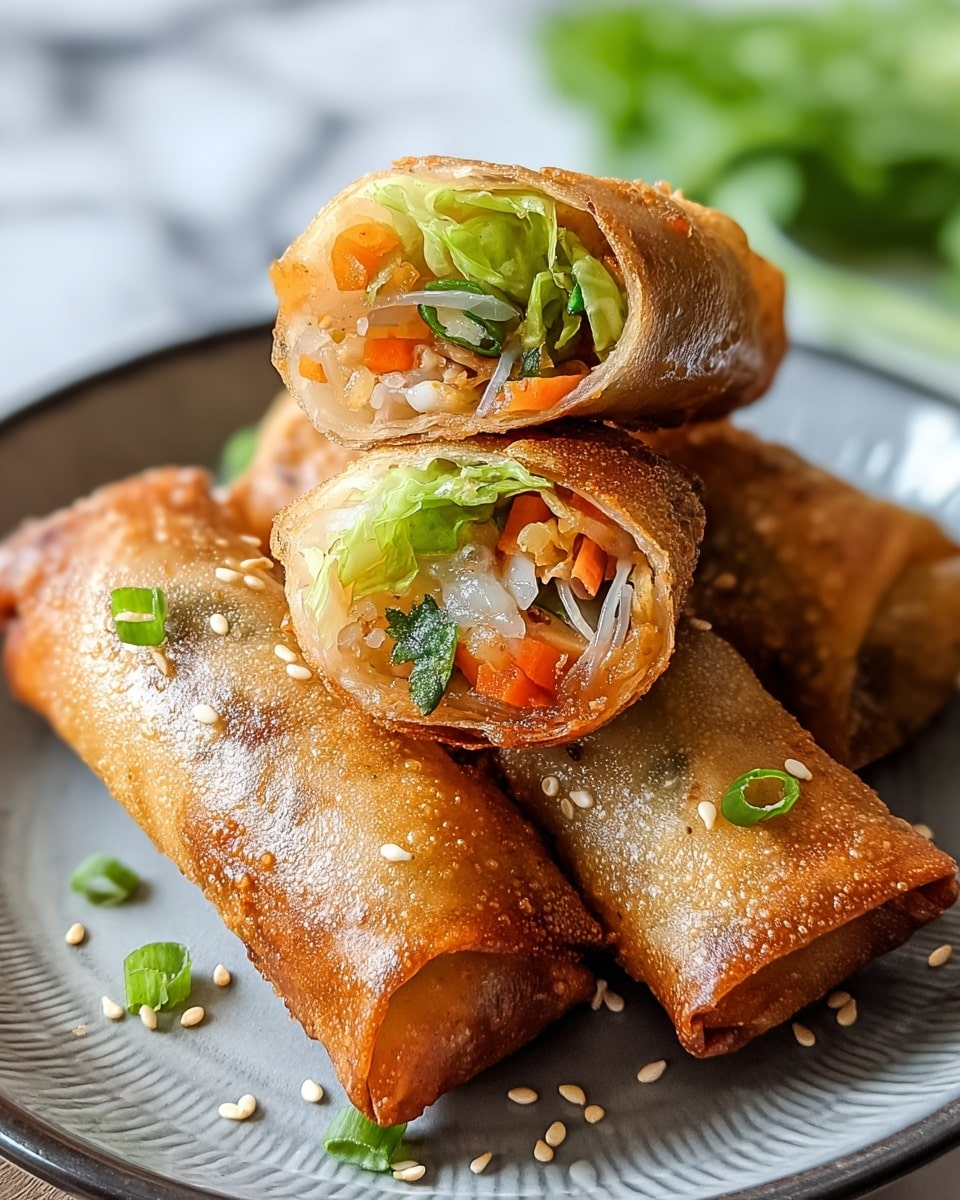
These crispy rice paper spring rolls are a delightful appetizer featuring a fresh and colorful mix of julienned vegetables and herbs wrapped in delicate rice paper, then pan-fried to a golden brown. Served with a zesty soy and lime dipping sauce, they offer a perfect balance of textures and flavors that make a light, healthy snack or starter.
- Prep Time: 15 minutes
- Cook Time: 10 minutes
- Total Time: 25 minutes
- Yield: 8–10 spring rolls 1x
- Category: Appetizer
- Method: Frying
- Cuisine: Asian
- Diet: Vegetarian
Ingredients
Vegetables and Herbs
- 1 cup rice noodles, cooked and drained
- 1 medium carrot, julienned
- 1/2 cucumber, julienned
- 1/2 bell pepper, thinly sliced
- Fresh mint or cilantro leaves, a handful
- Lettuce leaves, as needed for wrapping
Other Ingredients
- 8–10 rice paper wrappers
- Oil for frying (vegetable or canola oil)
- Soy sauce, for dipping
- Fresh lime juice, for serving
Instructions
- Prepare the Vegetables: Wash and julienne the carrots, cucumber, and bell pepper into thin strips. Rinse and pat dry fresh herbs like mint or cilantro. Set aside lettuce leaves for wrapping.
- Soak Rice Papers: Fill a shallow dish with warm water. Submerge one rice paper wrapper for 10-15 seconds until it becomes soft and pliable but not overly soggy to prevent tearing.
- Assemble Spring Rolls: Lay the softened rice paper flat on a clean surface. Place about two tablespoons of cooked rice noodles and an assortment of the prepared vegetables and herbs near one edge. Add a lettuce leaf if desired. Fold in the sides of the paper and roll tightly to encase the filling completely.
- Heat the Oil: In a skillet, pour enough oil to cover the bottom and heat over medium heat until shimmering but not smoking.
- Fry the Spring Rolls: Place the assembled spring rolls seam side down in the hot oil. Fry for 2-3 minutes on each side or until each side is golden brown and crispy. Carefully turn them using tongs to ensure even cooking without breaking.
- Drain and Serve: Remove the spring rolls from the skillet and drain on paper towels to remove excess oil. Serve hot with soy sauce mixed with fresh lime juice for dipping.
Notes
- Be careful not to soak rice papers too long, or they will become too soft and difficult to roll.
- Ensure the oil is at the right temperature before frying to avoid greasy spring rolls.
- Customize fillings with favorite vegetables or proteins like cooked shrimp or tofu for variation.
- These spring rolls are best enjoyed fresh and hot for maximum crispiness.
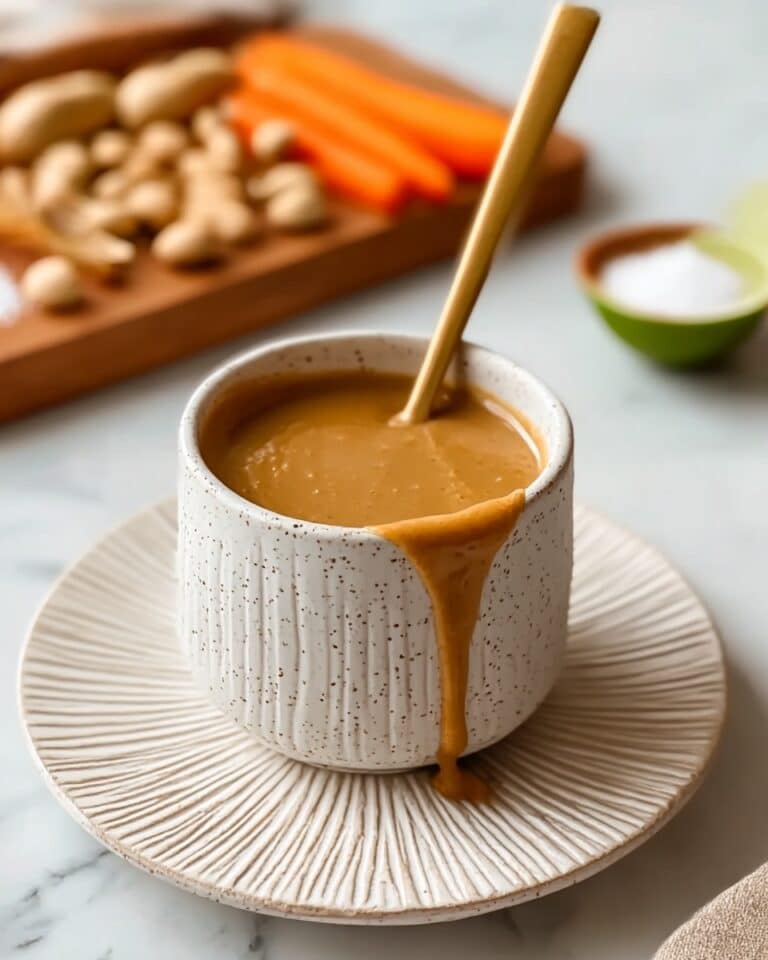
- If preferred, serve with peanut dipping sauce for a different flavor profile.
Keywords: crispy spring rolls, rice paper rolls, vegetarian spring rolls, fried spring rolls, Asian appetizer