Healthy Date Brownies Recipe
Introduction
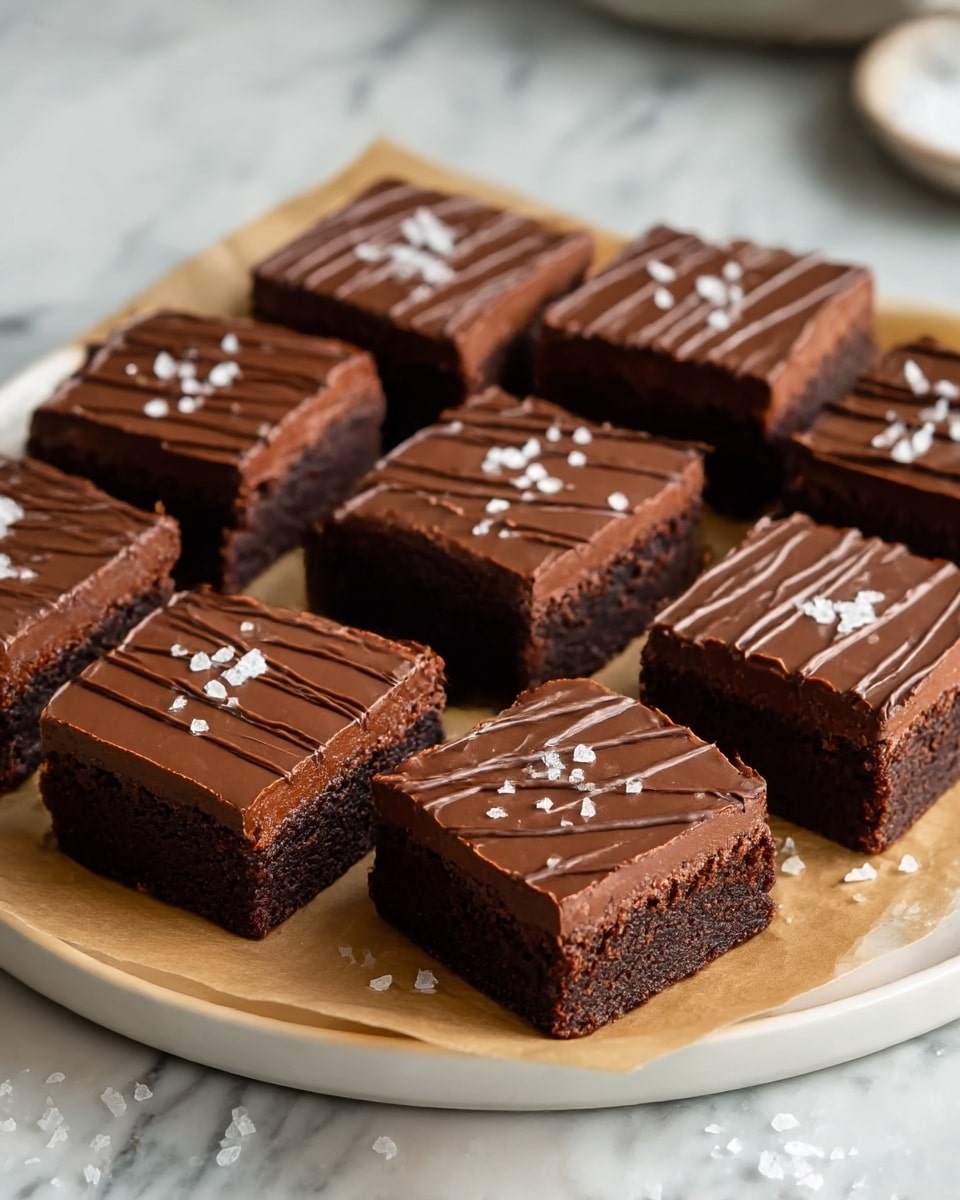
These healthy date brownies offer a deliciously rich treat without the guilt. Made with natural sweeteners and wholesome ingredients, they’re perfect for a snack or dessert that satisfies your chocolate cravings in a nutritious way.
Ingredients
- 1 cup pitted dates
- 2 large eggs
- 1/2 cup almond butter (or peanut butter)
- 1/2 cup cocoa powder
- 1 teaspoon vanilla extract
- 1 teaspoon baking soda
- Pinch of salt
- 1/3 cup dark chocolate chips (optional)
Instructions
- Step 1: Soak the dates in warm water for 10-15 minutes if they are tough or dry, then drain them.
- Step 2: Preheat the oven to 350°F (175°C).
- Step 3: In a food processor, blend the soaked dates with eggs and nut butter until the mixture is mostly smooth.
- Step 4: Add cocoa powder, vanilla extract, baking soda, and salt to the food processor, then blend again until well combined.
- Step 5: Gently fold in the dark chocolate chips with a spatula.
- Step 6: Line a baking dish with parchment paper and spread the batter evenly in the dish.
- Step 7: Bake for 18-22 minutes until the top looks set and a toothpick comes out with a few moist crumbs.
- Step 8: Allow the brownies to cool before slicing and serving.
Tips & Variations
- For extra moisture, try adding a tablespoon of Greek yogurt or applesauce to the batter.
- Swap almond butter for peanut butter or sunflower seed butter based on preference or allergies.
- Use a mix of dark and semi-sweet chocolate chips for a balanced sweetness.
- Press chopped nuts or shredded coconut on top before baking for added texture.
Storage
Store brownies in an airtight container at room temperature for up to 3 days or in the refrigerator for up to a week. Reheat gently in the microwave if desired, or enjoy them cold.
How to Serve
Serve this delicious recipe with your favorite sides.
FAQs
Can I make these brownies vegan?
You can try replacing the eggs with flax eggs or other egg substitutes, but the texture may change slightly. Using vegan-friendly nut butters and chocolate chips will help keep the recipe fully plant-based.
What if I don’t have a food processor?
You can use a high-powered blender to mix the ingredients or chop the dates finely and combine with a hand mixer, though a food processor will give the smoothest batter.
PrintHealthy Date Brownies Recipe

These Healthy Date Brownies are a nutritious twist on traditional brownies, using natural sweetness from dates and wholesome ingredients like almond butter and cocoa powder. Perfect for a guilt-free indulgence, they are easy to prepare and satisfy chocolate cravings with a rich, fudgy texture.
- Prep Time: 15 minutes
- Cook Time: 20 minutes
- Total Time: 35 minutes
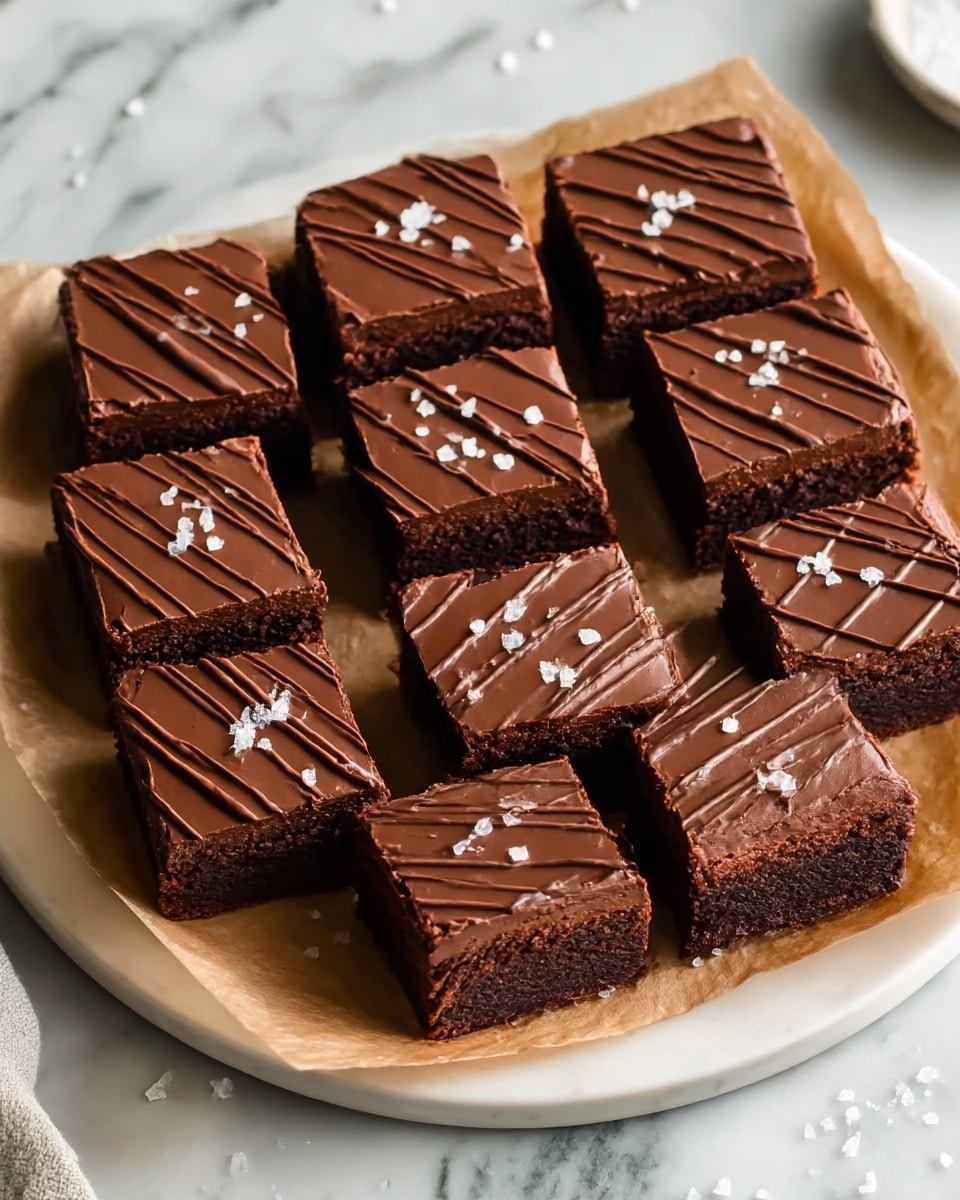
- Yield: 9 brownies (3×3 inch pieces) 1x
- Category: Dessert
- Method: Baking
- Cuisine: American
- Diet: Gluten Free
Ingredients
Main Ingredients
- 1 cup pitted dates
- 2 large eggs
- 1/2 cup almond butter (or peanut butter)
- 1/2 cup cocoa powder
- 1 teaspoon vanilla extract
- 1 teaspoon baking soda
- Pinch of salt
- 1/3 cup dark chocolate chips (optional)
Instructions
- Soak Dates: Soak the pitted dates in warm water for 10-15 minutes if they are tough or dry to soften them and ensure they blend smoothly.
- Preheat Oven: Preheat your oven to 350°F (175°C), preparing it for baking the brownies evenly.
- Blend Base: Drain the soaked dates and add them to a food processor along with the eggs and almond butter. Blend until the mixture is mostly smooth, creating the base batter.
- Add Dry Ingredients: Add the cocoa powder, vanilla extract, baking soda, and a pinch of salt to the mixture in the food processor. Blend again until everything is well combined.
- Fold in Chocolate Chips: Gently fold in the dark chocolate chips using a spatula to maintain some texture and bits of melted chocolate throughout the brownies.
- Prepare Baking Dish: Line a baking dish with parchment paper and spread the brownie batter evenly within the dish for uniform baking.
- Bake: Bake the brownies in the preheated oven for 18-22 minutes until the top is set and a toothpick inserted in the center comes out with a few moist crumbs.
- Cool and Serve: Allow the brownies to cool completely before slicing into squares and serving to enjoy their fudgy texture.
Notes
- Soaking the dates is optional but recommended if your dates are dry or tough.
- You can substitute almond butter with peanut butter or any other nut butter of your choice.
- For a vegan version, replace eggs with flax eggs or another egg substitute.
- Dark chocolate chips add extra richness but can be omitted for a simpler version.
- Store brownies in an airtight container at room temperature for up to 3 days or refrigerate for longer freshness.
Keywords: healthy brownies, date brownies, gluten free dessert, low sugar brownies, almond butter brownies, baking recipe