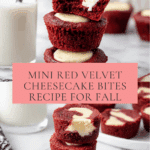
Mini Red Velvet Cheesecake Recipe
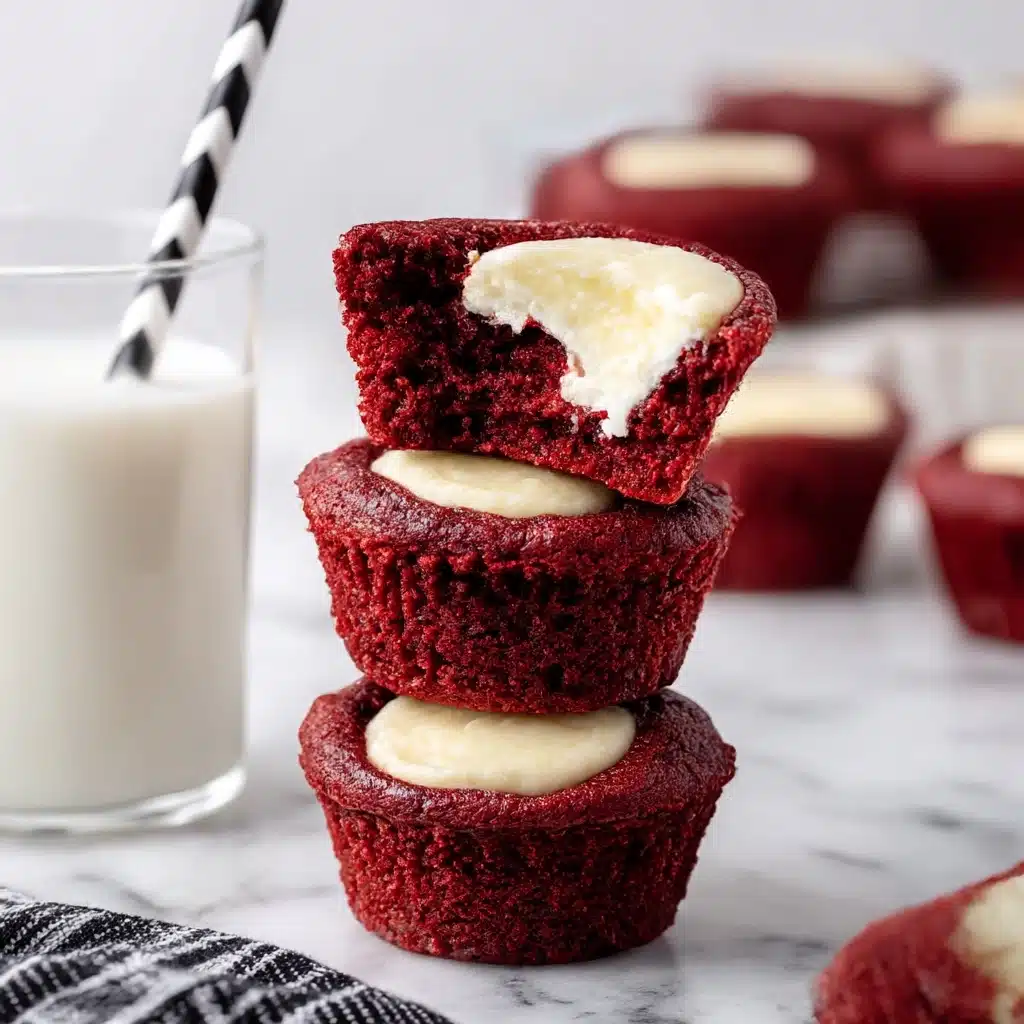
I am beyond excited to share this delightful recipe for Mini Red Velvet Cheesecake with you! These little treats perfectly blend the rich, velvety flavor of classic red velvet cake with the creamy indulgence of cheesecake, all in a perfectly bite-sized package. Whether you’re planning a party, a cozy night in, or just need a sweet treat fix, these Mini Red Velvet Cheesecakes deliver both elegance and comforting flavor that will have everyone asking for seconds and thirds. Trust me, once you try these, you’ll wonder how you ever lived without them!
Ingredients You’ll Need
Getting started with this Mini Red Velvet Cheesecake is easier than you might think. The ingredients are straightforward but essential, each contributing to the signature taste, texture, and vibrant color that make this dessert so special. From the tender red velvet base to the smooth cheesecake filling, every component works in harmony to create an unforgettable bite.
- All-purpose flour: The foundation for the base, providing structure to those tender red velvet bites.
- Unsweetened cocoa powder: Adds the unmistakable chocolate undertone that defines red velvet, perfectly balanced.
- Salted sweet cream butter: Melted and cooled, it enriches the batter, keeping those mini cakes moist and flavorful.
- Granulated sugar: Sweetens both the base and the cheesecake filling for balanced sweetness throughout.
- Red gel food color: The secret weapon for that signature, vibrant red hue that makes red velvet so attractive.
- Pure vanilla extract: Enhances all the flavors, adding depth and warmth to the cheesecake and cake layers alike.
- Large eggs: Room temperature and beaten, eggs bind the ingredients and ensure perfect texture in the base and filling.
- Cream cheese: Softened for a silky-smooth filling that melts in your mouth with every bite.
- Egg yolk: Adds richness to the cheesecake filling while helping it set beautifully.
How to Make Mini Red Velvet Cheesecake
Step 1: Prepare Your Oven and Pan
Start by preheating your oven to 350°F to ensure it’s ready when your batter is. Next, grab a mini muffin pan and give it a thorough spray with nonstick cooking spray so those tiny cheesecakes come out effortlessly once baked. Having everything prepped ahead is a great way to keep things moving smoothly.
Step 2: Combine Dry Ingredients for the Red Velvet Base
In a small mixing bowl, whisk together the all-purpose flour and unsweetened cocoa powder until evenly combined. This step ensures that the cocoa doesn’t clump and your mini red velvet bases have a consistent chocolaty flavor throughout.
Step 3: Mix Wet Ingredients for the Red Velvet Base
In a separate medium bowl, whisk the melted and cooled salted butter together with granulated sugar, red gel food color, pure vanilla extract, and beaten eggs. This luscious mix is where the magic of flavor and color begins, setting the stage for those signature red velvet bites.
Step 4: Combine Wet and Dry for the Base
Gently stir the dry flour and cocoa mixture into your wet ingredients. Mix just until everything is incorporated to keep the texture tender and soft. Overmixing can lead to tougher edges, and we’re definitely going for soft, delicate bites here!
Step 5: Prepare the Cheesecake Filling
Using a handheld mixer on medium-high speed, beat the softened cream cheese for about one minute until silky smooth. Add sugar and vanilla, beating for another minute or until fully mixed in. Lastly, add the egg yolk and mix just until combined without any yellow streaks. This creamy filling will bring that luscious cheesecake flavor in every bite.
Step 6: Assemble Your Mini Red Velvet Cheesecakes
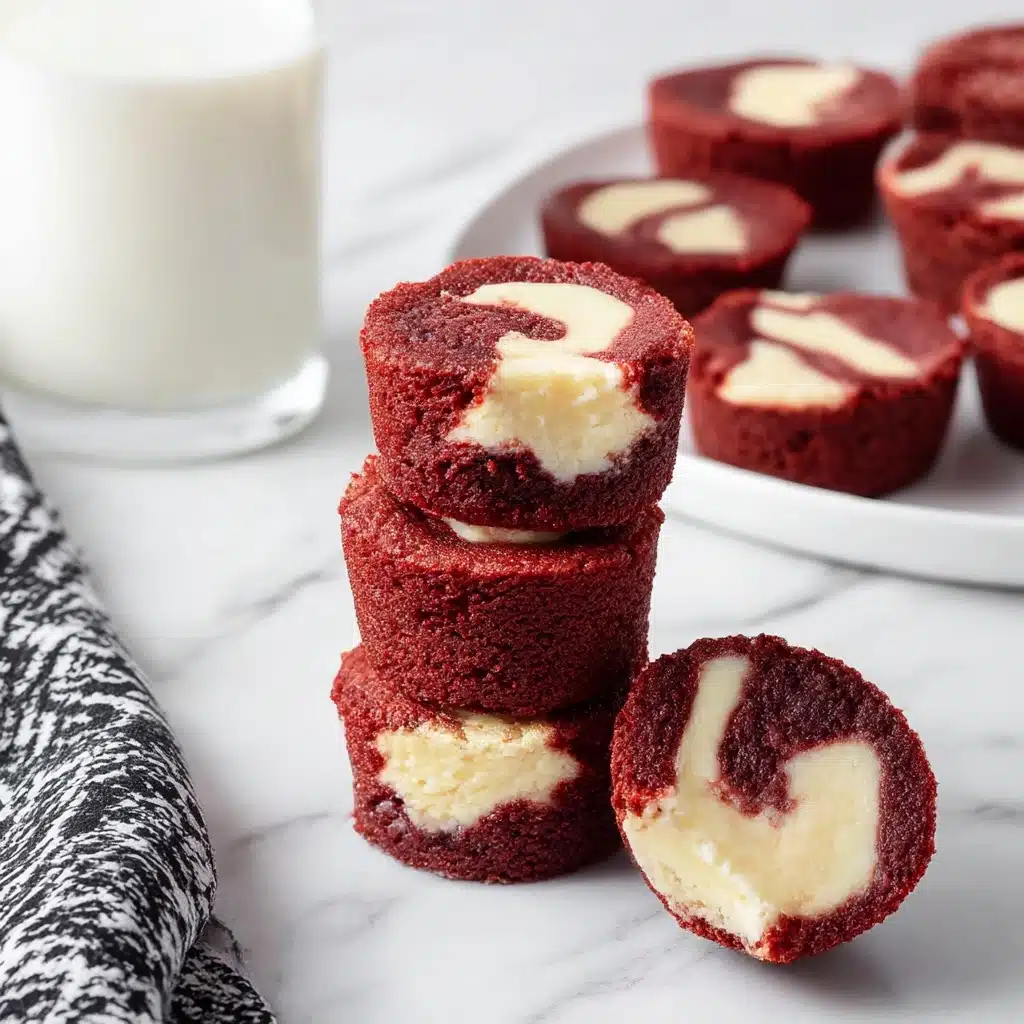
Fill a disposable piping bag or a resealable quart-size plastic bag with the cheesecake filling. Place about one tablespoon of the red velvet batter into each cavity of the prepared muffin pan. Snip the tip off your bag and carefully pipe approximately two teaspoons of cheesecake filling right into the center of the red velvet batter in each muffin cup. This layered approach creates a stunning swirl of flavors and textures.
Step 7: Bake and Cool
Bake your mini delights at 350°F for 8 to 9 minutes, just long enough for the cheesecake to set but still remain creamy. Allow them to cool in the pan for 20 to 30 minutes before carefully removing and transferring to a wire rack to cool completely. Patience here pays off with perfectly formed, delightful bites.
How to Serve Mini Red Velvet Cheesecake
Garnishes
These mini treats are begging for a beautiful finishing touch. Consider topping them with a light dusting of powdered sugar, a small dollop of whipped cream, or some finely chopped pistachios for a lovely crunch. Fresh raspberries or a drizzle of chocolate sauce also pair beautifully, adding a burst of flavor and color that will make your presentation truly pop.
Side Dishes
Serve your Mini Red Velvet Cheesecake alongside a cup of rich coffee, a glass of cold milk, or a vibrant berry compote. The creamy texture and subtle sweetness of these cheesecake bites complement fruity or slightly bitter beverages, enhancing every bite of indulgence.
Creative Ways to Present
For a party or special occasion, pop your Mini Red Velvet Cheesecakes onto decorative toothpicks or mini cupcake liners for easy sharing. You can even arrange them on a tiered dessert stand to showcase their charming beauty. For an extra touch, sprinkle edible gold flakes or incorporate themed sprinkles to match your event’s color scheme.
Make Ahead and Storage
Storing Leftovers
After enjoying, keep any leftovers stored in an airtight container in the refrigerator. They will stay fresh and delicious for up to 3 days, allowing you to savor those flavors whenever a little craving hits.
Freezing
You can absolutely freeze Mini Red Velvet Cheesecake bites! Place them on a baking sheet to freeze individually before transferring to a freezer-safe container. When wrapped well, they hold up beautifully for about 1 month without losing texture or flavor.
Reheating
If you want to enjoy them warm, simply let frozen cheesecakes thaw in the fridge overnight, then gently warm them in the microwave for about 15 seconds. Warming brings out the softness and creaminess in every bite without melting the cheesecake filling completely.
FAQs
Can I use regular red food coloring instead of gel?
Yes, you can use regular red food coloring, but the gel version tends to give a more vibrant and intense color without adding extra liquid, which keeps the batter consistency perfect for this recipe.
Do I need to let the cream cheese come to room temperature?
Absolutely! Softened cream cheese blends smoother and prevents lumps in the cheesecake filling, ensuring a perfectly creamy texture in your Mini Red Velvet Cheesecake.
Can I make this recipe gluten-free?
To make these gluten-free, substitute the all-purpose flour with a gluten-free blend that measures cup-for-cup like regular flour. The texture might be slightly different, but still delicious!
What if I don’t have a mini muffin pan?
A standard muffin pan can work in a pinch, though your cheesecakes will be larger and require longer baking time. Alternatively, silicone mini molds can also be used for easy removal.
How long can I store the cheesecakes at room temperature?
Since these cheesecakes contain cream cheese, it’s best to keep them refrigerated and not leave them out at room temperature for more than two hours to maintain safety and freshness.
Final Thoughts
There is something truly magical about the combination of red velvet and cheesecake in these Mini Red Velvet Cheesecakes. They bring together rich flavors and smooth textures in a charming, bite-sized form perfect for any occasion. I can’t wait for you to try this recipe, share it with your loved ones, and make new memories around this sweet, irresistible treat!
PrintMini Red Velvet Cheesecake Recipe

These Mini Red Velvet Cheesecakes combine the rich flavors of red velvet cake with a smooth, creamy cheesecake center. Perfectly sized as bite-sized treats, they offer a delightful balance of moist cocoa-infused cake and luscious cheesecake filling, ideal for parties, snacks, or dessert anytime.
- Prep Time: 20 minutes
- Cook Time: 9 minutes
- Total Time: 40 minutes
- Yield: 24 mini cheesecakes 1x
- Category: Dessert
- Method: Baking
- Cuisine: American
- Diet: Vegetarian
Ingredients
Red Velvet Base
- 1 cup all-purpose flour
- ¼ cup + 1 tablespoon unsweetened cocoa powder
- ¾ cup salted sweet cream butter, melted and cooled
- 1¼ cups granulated sugar
- 1 tablespoon red gel food color (Sunny Side Up Bakery brand recommended)
- 2 teaspoons pure vanilla extract
- 2 large eggs, room temperature and beaten
Cheesecake Filling
- 8 ounces cream cheese, softened
- ¼ cup granulated sugar
- 1 teaspoon pure vanilla extract
- 1 large egg yolk
Instructions
- Prepare the Oven and Pan: Preheat the oven to 350°F (175°C). Spray a mini muffin pan thoroughly with nonstick cooking spray and set aside to ensure easy removal of the cheesecakes.
- Mix Dry Ingredients: In a small mixing bowl, whisk together the all-purpose flour and unsweetened cocoa powder until combined evenly. Set aside for later use.
- Combine Red Velvet Base Wet Ingredients: In a medium-sized mixing bowl, whisk together the melted and cooled salted sweet cream butter, granulated sugar, red gel food color, vanilla extract, and beaten eggs until smooth and well incorporated.
- Add Dry to Wet: Gradually stir the flour and cocoa powder mixture into the wet ingredients. Stir just until all the dry ingredients are incorporated to avoid overmixing, which can affect texture.
- Beat Cream Cheese: In a separate medium-sized bowl, use a handheld mixer set on medium-high to beat the softened cream cheese for about 1 minute until smooth and creamy.
- Add Sugar and Vanilla to Cheesecake Filling: Add granulated sugar and pure vanilla extract to the cream cheese and continue mixing for another 1 to 1½ minutes until everything is well combined and smooth.
- Incorporate Egg Yolk: Add the large egg yolk to the cheesecake mixture and mix only until the yolk is fully blended and no yellow streaks remain, careful not to overmix.
- Prepare for Filling: Transfer the cheesecake filling into a disposable piping bag or quart-sized ziplock bag. If using a ziplock bag, snip off a small corner for piping.
- Assemble Mini Cheesecakes: Spoon about 1 tablespoon of the red velvet batter into each cavity of the prepared mini muffin pan. Then pipe approximately 2 teaspoons of cheesecake filling into the center of each red velvet base.
- Bake: Place the pan in the preheated oven and bake for 8 to 9 minutes, or until the edges are set but the center remains slightly jiggly.
- Cool: Remove the pan from the oven and allow the mini cheesecakes to cool in the pan for 20 to 30 minutes to firm up before carefully removing them.
- Transfer and Serve: Once cooled, transfer the mini cheesecakes to a wire rack to cool completely. Serve chilled or at room temperature.
Notes
- Use room temperature eggs for better mixing and texture.
- Do not overmix the red velvet batter once flour is added to maintain a tender crumb.
- Ensure cream cheese is fully softened before mixing to avoid lumps in the cheesecake filling.
- Mini muffin pans work best for this recipe to create perfectly sized bites.
- Cooling them completely helps the cheesecakes set for easier removal and better texture.
- Store leftovers in an airtight container in the refrigerator for up to 3 days.
- For best flavor, allow cheesecakes to chill for at least an hour before serving.
Nutrition
- Serving Size: 1 mini cheesecake (approx. 25g)
- Calories: 110
- Sugar: 10g
- Sodium: 55mg
- Fat: 7g
- Saturated Fat: 4.5g
- Unsaturated Fat: 2g
- Trans Fat: 0g
- Carbohydrates: 9g
- Fiber: 0.5g
- Protein: 2g
- Cholesterol: 30mg
Keywords: mini red velvet cheesecake, red velvet dessert, bite-sized cheesecake, mini cheesecakes, red velvet recipe